Node operators should deploy bare metal servers to achieve optimal performance. Additionally, validator nodes must meet the recommended hardware specifications and particularly the CPU requirements, to ensure high uptime.

Hardware Requirements

Step 1: Create a Validator Account

First, run the keygen command with your desired validator key name.
This will derive a new private key and encrypt it to disk. Make sure to remember the password you used.
The output will contain a mnemonic phrase that represents your key in plain text. Make sure to save this phrase as a backup of your key, since without a key you will not be able to control your validator. The phrase is better be backed up on physical paper, storing it in cloud storage may compromise your validator later.Remember the address starting from inj, this is going to be your Injective Chain Validator Account address.

Step 2: Obtain INJ

In order to proceed with the next step, you will have to obtain some INJ on Injective. You can request funds from the Testnet Faucet. After a few minutes, you should be able to verify that your deposit was successful on the UI. Alternatively, you can query your account balance using the injectived CLI with the following command:

Step 3: Create your validator account

Obtain your node’s Tendermint validator Bech32 encoded PubKey consensus address.
Then create your new validator initialized with a self-delegation with your INJ tokens. Most critically, you will need to decide on the values of your validator’s staking parameters.
  • --moniker - Your validator’s name
  • --amount - Your validator’s initial amount of INJ to bond
  • --commission-max-change-rate - Your validator’s maximum commission change rate percentage (per day)
  • --commission-max-rate - Your validator’s maximum commission rate percentage
  • --commission-rate - Your validator’s initial commission rate percentage
  • --min-self-delegation - Your validator’s minimum required self delegation
Once you decide on your desired values, set them as follows.
Then run the following command to create your validator.
Extra create-validator options to consider:
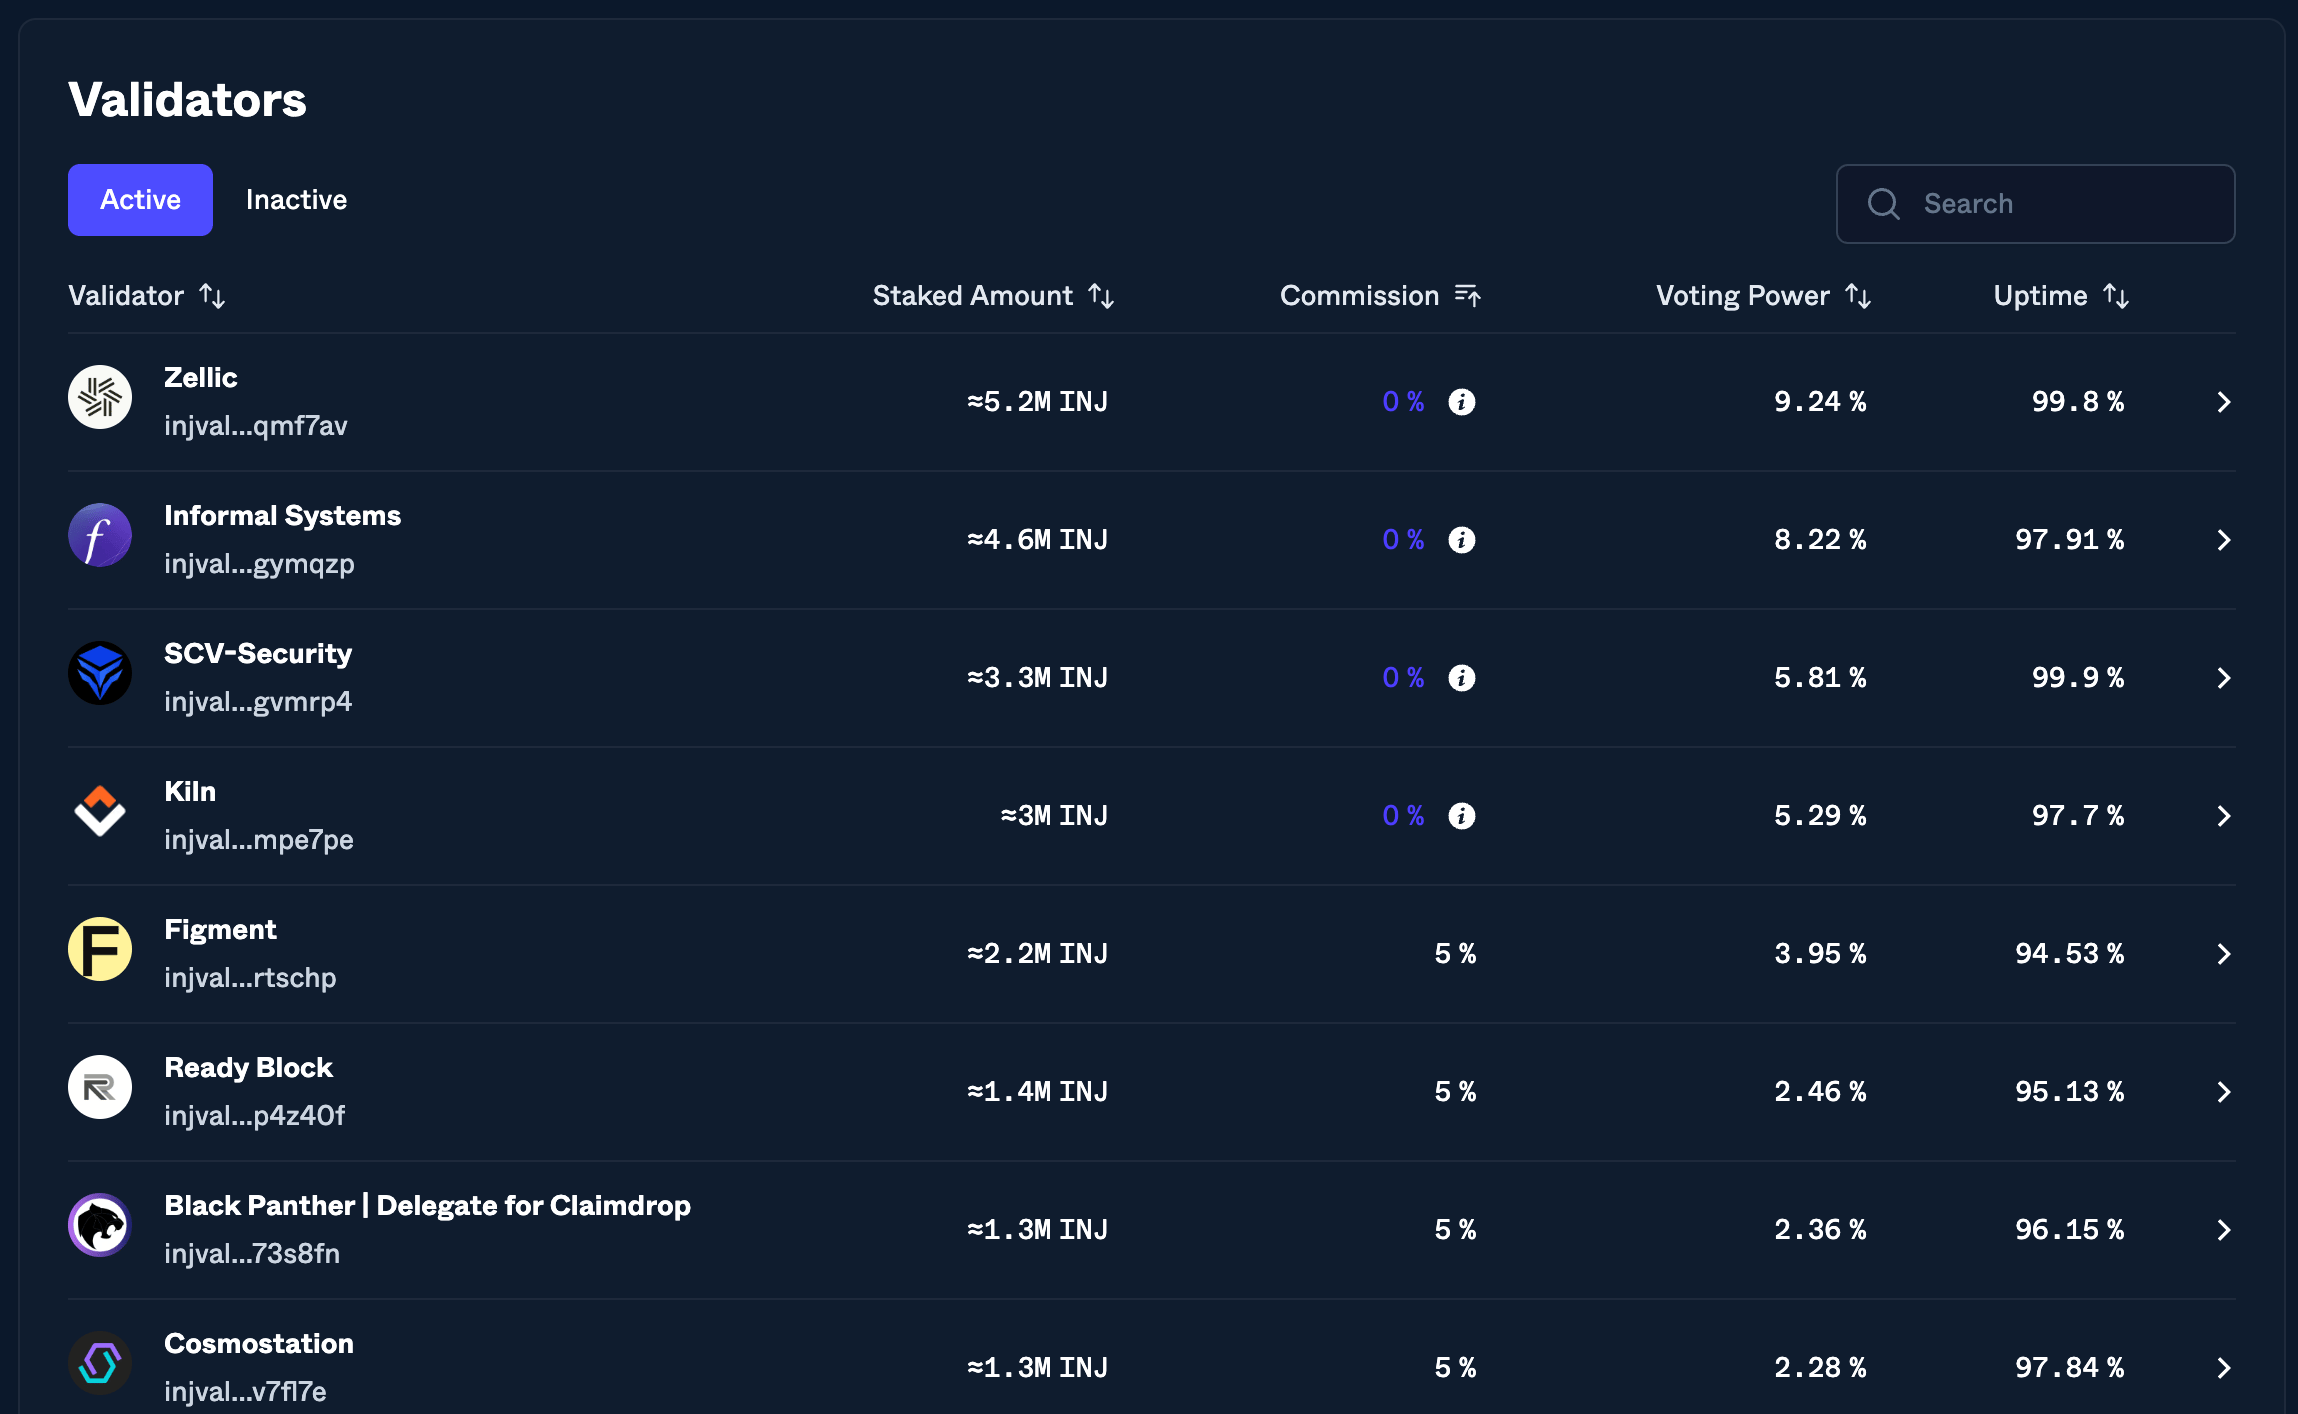
You can check that your validator was successfully created by checking the staking dashboard, and scrolling down to the ā€œValidatorsā€ section. It looks like this: Inj Hub Staking Validators Section Alternatively, enter the following CLI command:
If you see your validator in the list of validators, then congratulations, you have officially joined as an Equinox Staking validator! šŸŽ‰

Step 4: (Optional) Delegate Additional INJ to your Validator

To gain a deeper empirical understanding of the user experience that your future delegators will experience, you can complete the remaining steps in the Staking Guide. These steps will allow you to experience the delegation flow using MetaMask Transactions. 🦊 Alternatively, you can always use the Injective CLI to send a delegation transaction.

Next Steps

Next, proceed to set up your Ethereum Bridge Relayer. This is a necessary step in order to prevent your validator from being slashed. You should do this immediately after setting up your validator.
Last modified on March 31, 2026